728x90
반응형

📌 1. 감성 분석(Sentiment Analysis) 모델 학습
# 다음은 주요 AutoModel 클래스들의 목록입니다:
# AutoModel: 기본 모델을 로드합니다.
# AutoModelForPreTraining: 사전 학습(Pre-training)을 위한 모델을 로드합니다.
# AutoModelForCausalLM: Causal Language Modeling을 위한 모델을 로드합니다.
# AutoModelForMaskedLM: Masked Language Modeling을 위한 모델을 로드합니다.
# AutoModelForSequenceClassification: 시퀀스 분류를 위한 모델을 로드합니다.
# AutoModelForTokenClassification: 토큰 분류를 위한 모델을 로드합니다.
# AutoModelForQuestionAnswering: 질의응답을 위한 모델을 로드합니다.
# AutoModelForSeq2SeqLM: 시퀀스-투-시퀀스(Sequence-to-Sequence) 작업을 위한 모델을 로드합니다.
# AutoModelForImageClassification: 이미지 분류를 위한 모델을 로드합니다.
# AutoModelForImageSegmentation: 이미지 분할을 위한 모델을 로드합니다.
# AutoModelForObjectDetection: 객체 탐지를 위한 모델을 로드합니다.
# AutoModelForVision2Seq: 비전-투-시퀀스 작업을 위한 모델을 로드합니다.
# AutoModelForAudioClassification: 오디오 분류를 위한 모델을 로드합니다.
# AutoModelForCTC: Connectionist Temporal Classification을 위한 모델을 로드합니다.
# AutoModelForAudioFrameClassification: 오디오 프레임 분류를 위한 모델을 로드합니다.
# AutoModelForAudioXVector: 오디오 X-벡터를 위한 모델을 로드합니다.
# AutoModelForSpeechSeq2Seq: 음성 시퀀스-투-시퀀스 작업을 위한 모델을 로드합니다.
1.1 AutoModel 및 AutoTokenizer 활용
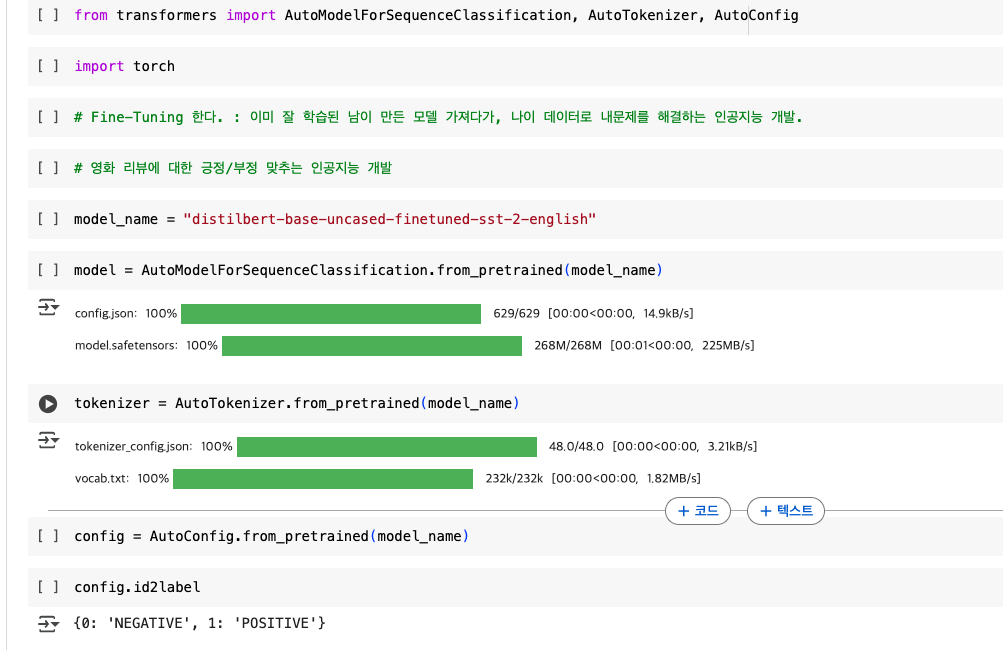
Hugging Face의 transformers 라이브러리를 활용하여 사전 학습된 DistilBERT 기반 감성 분석 모델을 사용합니다.
from transformers import AutoModelForSequenceClassification, AutoTokenizer

# 감성 분석 모델 및 토크나이저 로드
model_name = 'distilbert-base-uncased-finetuned-sst-2-english'
model = AutoModelForSequenceClassification.from_pretrained(model_name)
tokenizer = AutoTokenizer.from_pretrained(model_name)
1.2 감성 분석 수행
import torch
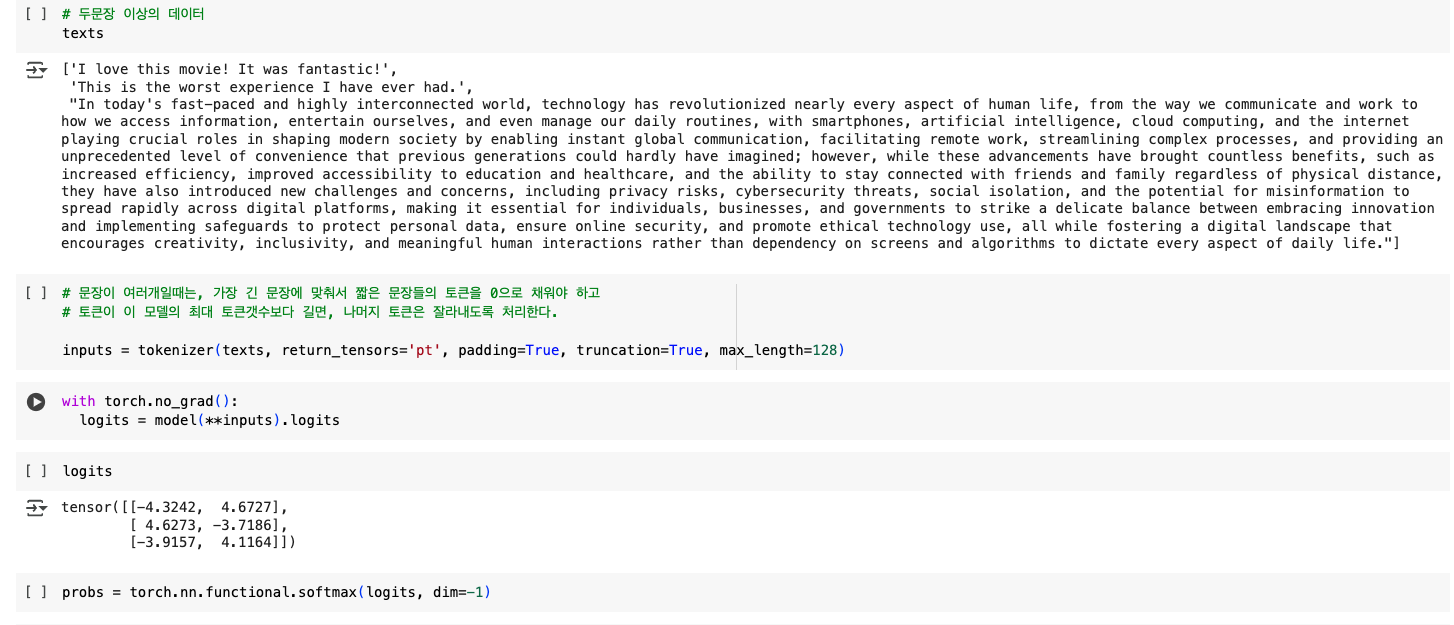
texts = ["I love this movie! It was fantastic!",
"This is the worst experience I have ever had.",
"The story was quite engaging, but the ending was disappointing."]
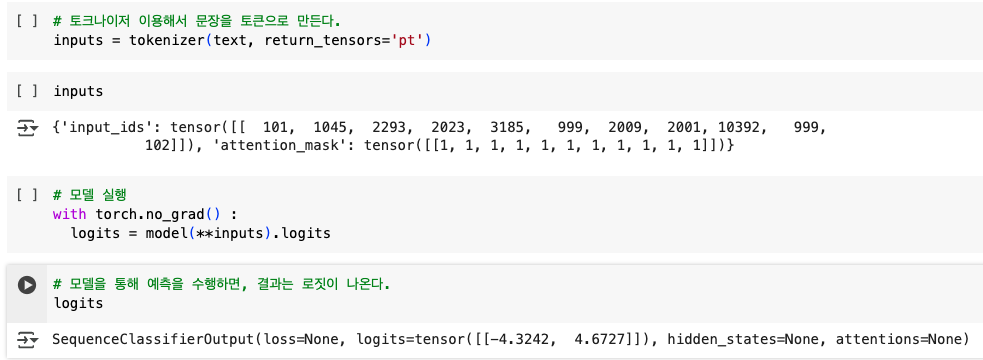
# 텍스트를 토큰화
inputs = tokenizer(texts, return_tensors='pt', padding=True, truncation=True, max_length=128)
# 모델 실행
with torch.no_grad():
logits = model(**inputs).logits
# 소프트맥스 적용하여 확률 변환
probs = torch.nn.functional.softmax(logits, dim=-1)
# 가장 높은 확률을 가진 클래스로 변환
predicted_classes = torch.argmax(probs, dim=-1).tolist()
# 결과 해석
from transformers import AutoConfig
config = AutoConfig.from_pretrained(model_name)
for id in predicted_classes:
print(config.id2label[id])
✅ 설명
1. AutoTokenizer를 이용해 입력 문장을 토큰화합니다.

2. 사전 학습된 모델(distilbert-base-uncased-finetuned-sst-2-english)을 활용해 문장의 감정을 예측합니다.
3. softmax()를 적용하여 각 클래스(긍정/부정)의 확률을 계산합니다.

4. 가장 높은 확률을 가진 클래스를 argmax()로 가져와 최종 감성 분석 결과를 출력합니다.

📌 2. Fine-Tuning (IMDB 데이터셋 활용)
2.1 데이터셋 로드
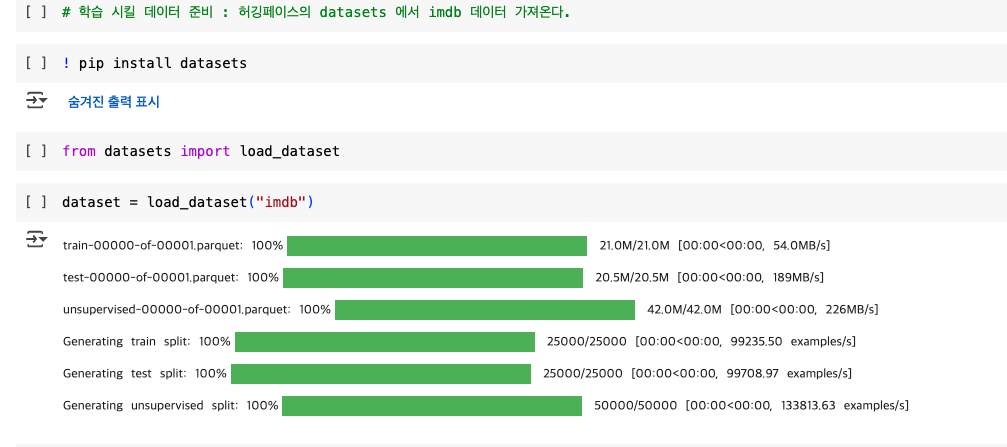
! pip install datasets
from datasets import load_dataset

dataset = load_dataset("imdb")

# 데이터 확인
dataset
출력
: dataset
DatasetDict({
    train: Dataset({
        features: ['text', 'label'],
        num_rows: 25000
    })
    test: Dataset({
        features: ['text', 'label'],
        num_rows: 25000
    })
    unsupervised: Dataset({
        features: ['text', 'label'],
        num_rows: 50000
    })
})
2.2 데이터 전처리 (토큰화)
def tokenize_function(data):
    return tokenizer(data['text'], padding=True, truncation=True, max_length=128)

tokenized_datasets = dataset.map(tokenize_function, batched=True)

출력
: tokenized_datasets
tokenized_datasets
DatasetDict({
    train: Dataset({
        features: ['text', 'label', 'input_ids', 'attention_mask'],
        num_rows: 25000
    })
    test: Dataset({
        features: ['text', 'label', 'input_ids', 'attention_mask'],
        num_rows: 25000
    })
    unsupervised: Dataset({
        features: ['text', 'label', 'input_ids', 'attention_mask'],
        num_rows: 50000
    })
})
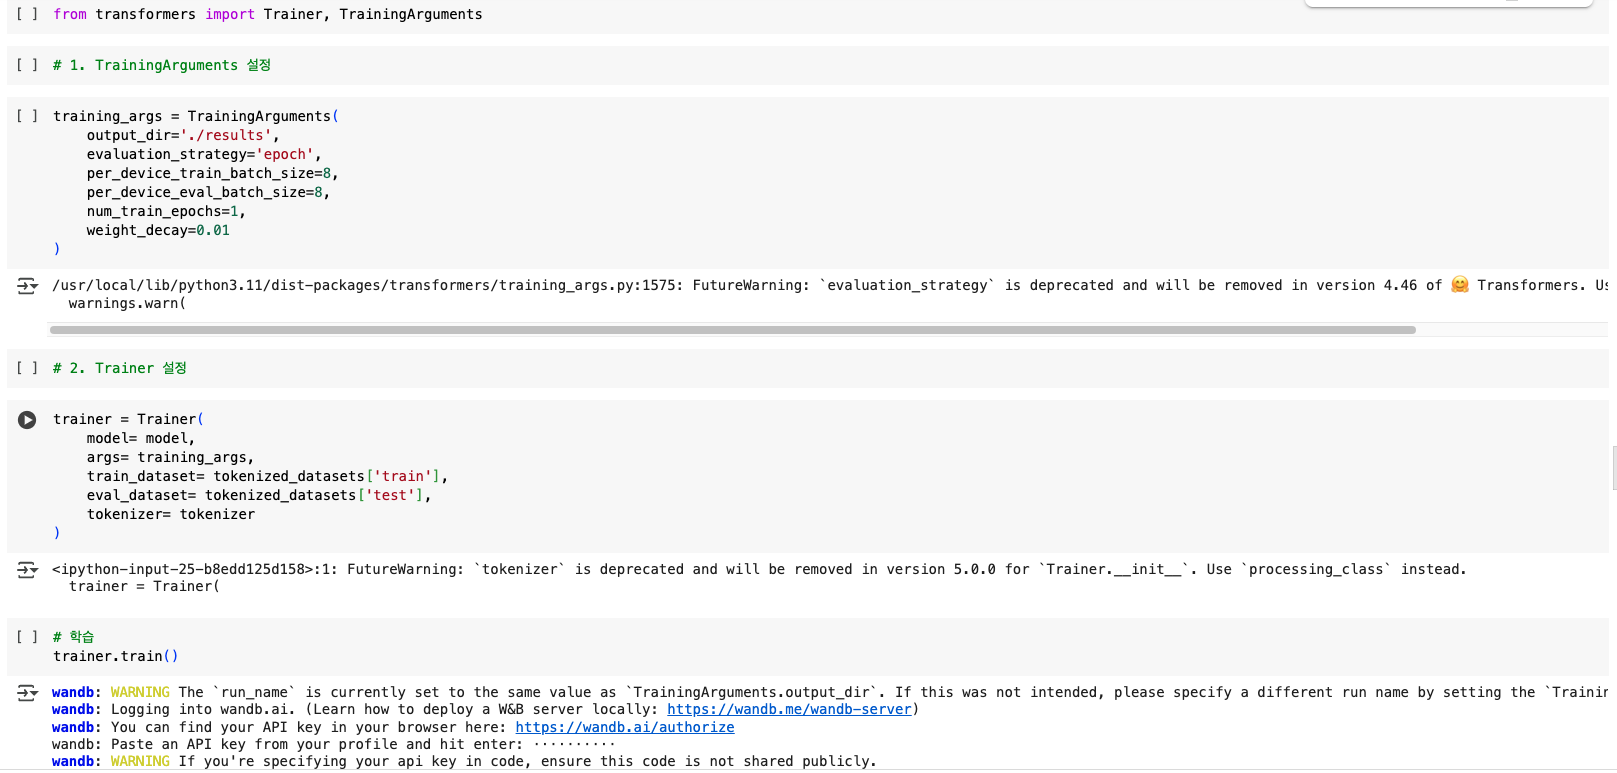
2.3 모델 학습을 위한 설정
from transformers import Trainer, TrainingArguments

training_args = TrainingArguments(
    output_dir='./results',
    evaluation_strategy='epoch',
    per_device_train_batch_size=8,
    per_device_eval_batch_size=8,
    num_train_epochs=1,
    weight_decay=0.01
)

trainer = Trainer(
    model=model,
    args=training_args,
    train_dataset=tokenized_datasets['train'],
    eval_dataset=tokenized_datasets['test'],
    tokenizer=tokenizer
)

# 모델 학습
trainer.train()
출력
: trainer.train()
TrainOutput(global_step=3125,
training_loss=0.3611779833984375,
metrics={'train_runtime': 540.6099,
'train_samples_per_second': 46.244,
'train_steps_per_second': 5.781,
'total_flos': 827921241600000.0,
'train_loss': 0.3611779833984375, 'epoch': 1.0})
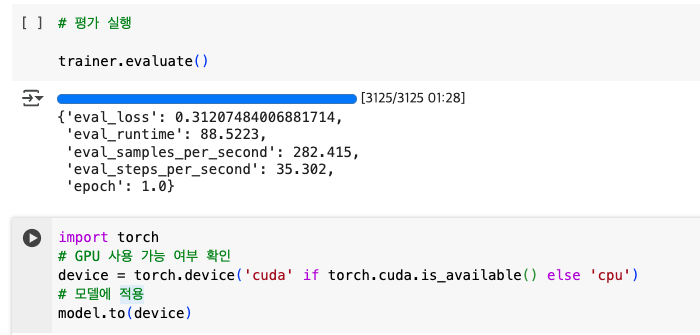
2.4 모델 평가 실행
trainer.evaluate()

import torch
# GPU 사용 가능 여부 확인
device = torch.device('cuda' if torch.cuda.is_available() else 'cpu')
# 모델에 적용
model.to(device)
출력
: model.to(device)
DistilBertForSequenceClassification(
  (distilbert): DistilBertModel(
    (embeddings): Embeddings(
      (word_embeddings): Embedding(30522, 768, padding_idx=0)
      (position_embeddings): Embedding(512, 768)
      (LayerNorm): LayerNorm((768,), eps=1e-12, elementwise_affine=True)
      (dropout): Dropout(p=0.1, inplace=False)
    )
    (transformer): Transformer(
      (layer): ModuleList(
        (0-5): 6 x TransformerBlock(
          (attention): DistilBertSdpaAttention(
            (dropout): Dropout(p=0.1, inplace=False)
            (q_lin): Linear(in_features=768, out_features=768, bias=True)
            (k_lin): Linear(in_features=768, out_features=768, bias=True)
            (v_lin): Linear(in_features=768, out_features=768, bias=True)
            (out_lin): Linear(in_features=768, out_features=768, bias=True)
          )
          (sa_layer_norm): LayerNorm((768,), eps=1e-12, elementwise_affine=True)
          (ffn): FFN(
            (dropout): Dropout(p=0.1, inplace=False)
            (lin1): Linear(in_features=768, out_features=3072, bias=True)
            (lin2): Linear(in_features=3072, out_features=768, bias=True)
            (activation): GELUActivation()
          )
          (output_layer_norm): LayerNorm((768,), eps=1e-12, elementwise_affine=True)
        )
      )
    )
  )
  (pre_classifier): Linear(in_features=768, out_features=768, bias=True)
  (classifier): Linear(in_features=768, out_features=2, bias=True)
  (dropout): Dropout(p=0.2, inplace=False)
)
✅ 설명
- TrainingArguments를 설정하여 학습 환경을 구성합니다.
- Trainer 객체를 사용하여 모델 학습을 진행합니다.
- trainer.train()을 호출하여 Fine-Tuning을 수행합니다.
📌 3. 학습 완료된 모델 배포

3.1 모델 저장
trainer.save_model("./results")
3.2 Hugging Face Hub에 업로드
from huggingface_hub import notebook_login
notebook_login()

# 업로드
model.push_to_hub("my-huggingface-username/distilbert-imdb")
tokenizer.push_to_hub("my-huggingface-username/distilbert-imdb")

✅ 설명
- trainer.save_model()을 사용하여 학습된 모델을 저장합니다.
- Hugging Face 계정에 로그인한 후, push_to_hub()을 사용해 모델을 업로드합니다.
- 업로드된 모델은 Hugging Face Model Hub에서 자유롭게 사용할 수 있습니다.
🎯 결론
이번 포스트에서는 Fine-Tuning을 활용하여 감성 분석 모델을 훈련하고 배포하는 방법을 다루었습니다.
또한, Stable Diffusion을 활용하여 텍스트 기반 이미지 생성 방법도 소개하였습니다.
✅ 주요 내용 요약
✔️ Stable Diffusion을 활용한 텍스트 기반 이미지 생성
✔️ 사전 학습된 감성 분석 모델(distilbert-base-uncased-finetuned-sst-2-english) 활용
✔️ IMDB 데이터셋을 사용한 Fine-Tuning 및 학습
✔️ 학습된 모델을 Hugging Face Hub에 업로드 및 배포
728x90
반응형
'AI > 이론' 카테고리의 다른 글
| 153. [AI] [Fine-Tuning] Pipeline을 활용한 이미지 생성 (0) | 2025.02.18 |
|---|---|
| 137. [Python] [Machine Learning] : 계층적 군집 분석( Hierarchical Clustering) (0) | 2025.01.31 |
| 136. [Python] [Machine Learning] : 비지도 학습(Unsupervised Learning)의 알고리즘 종류 (0) | 2025.01.31 |
| 135. [Python] [Machine Learning] : K-평균 군집화(K-Means Clustering) (0) | 2025.01.31 |
| 134. [Python] [Machine Learning] : 의사결정나무(Decision Tree) (1) | 2025.01.31 |


